How to Crochet a Zig Zag Baby Blanket
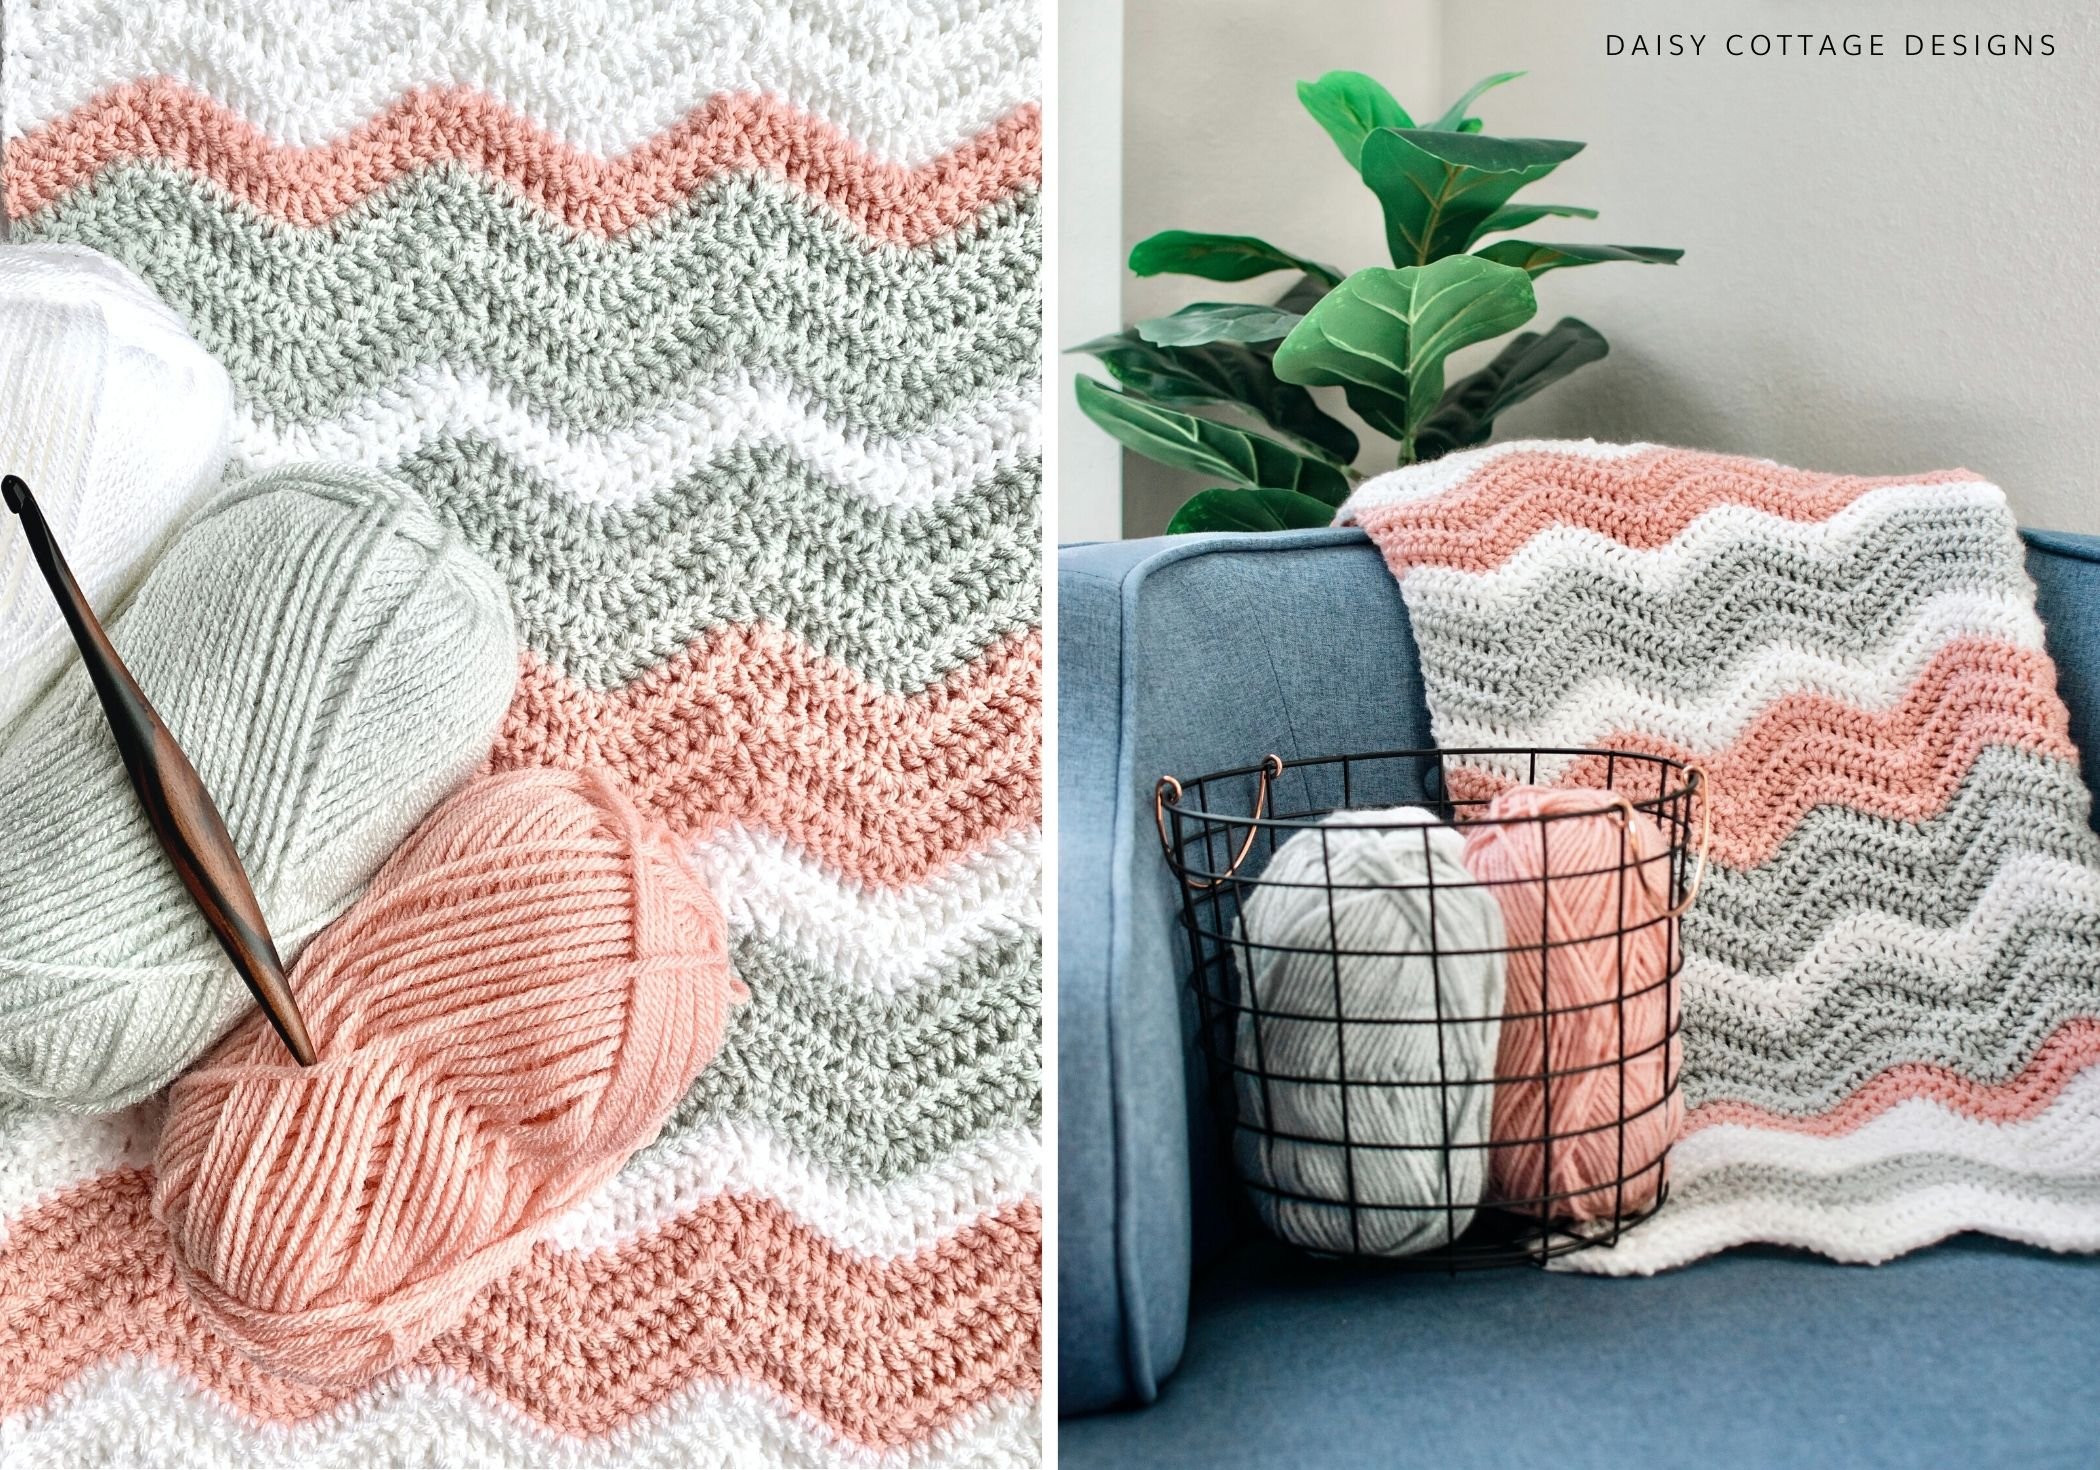
On the search for the perfect ripple blanket crochet pattern to add to your collection? Here's a fun and simple double crochet ripple that works up quickly and produces stunning results. The free pattern is available below, or you can purchase the ad-free PDF here.
If you love this ripple, you're also going to love this chevron blanket pattern.
Want an add-free version of this pattern? It's available in my Etsy shop.
Ripple Baby Blanket Crochet Pattern
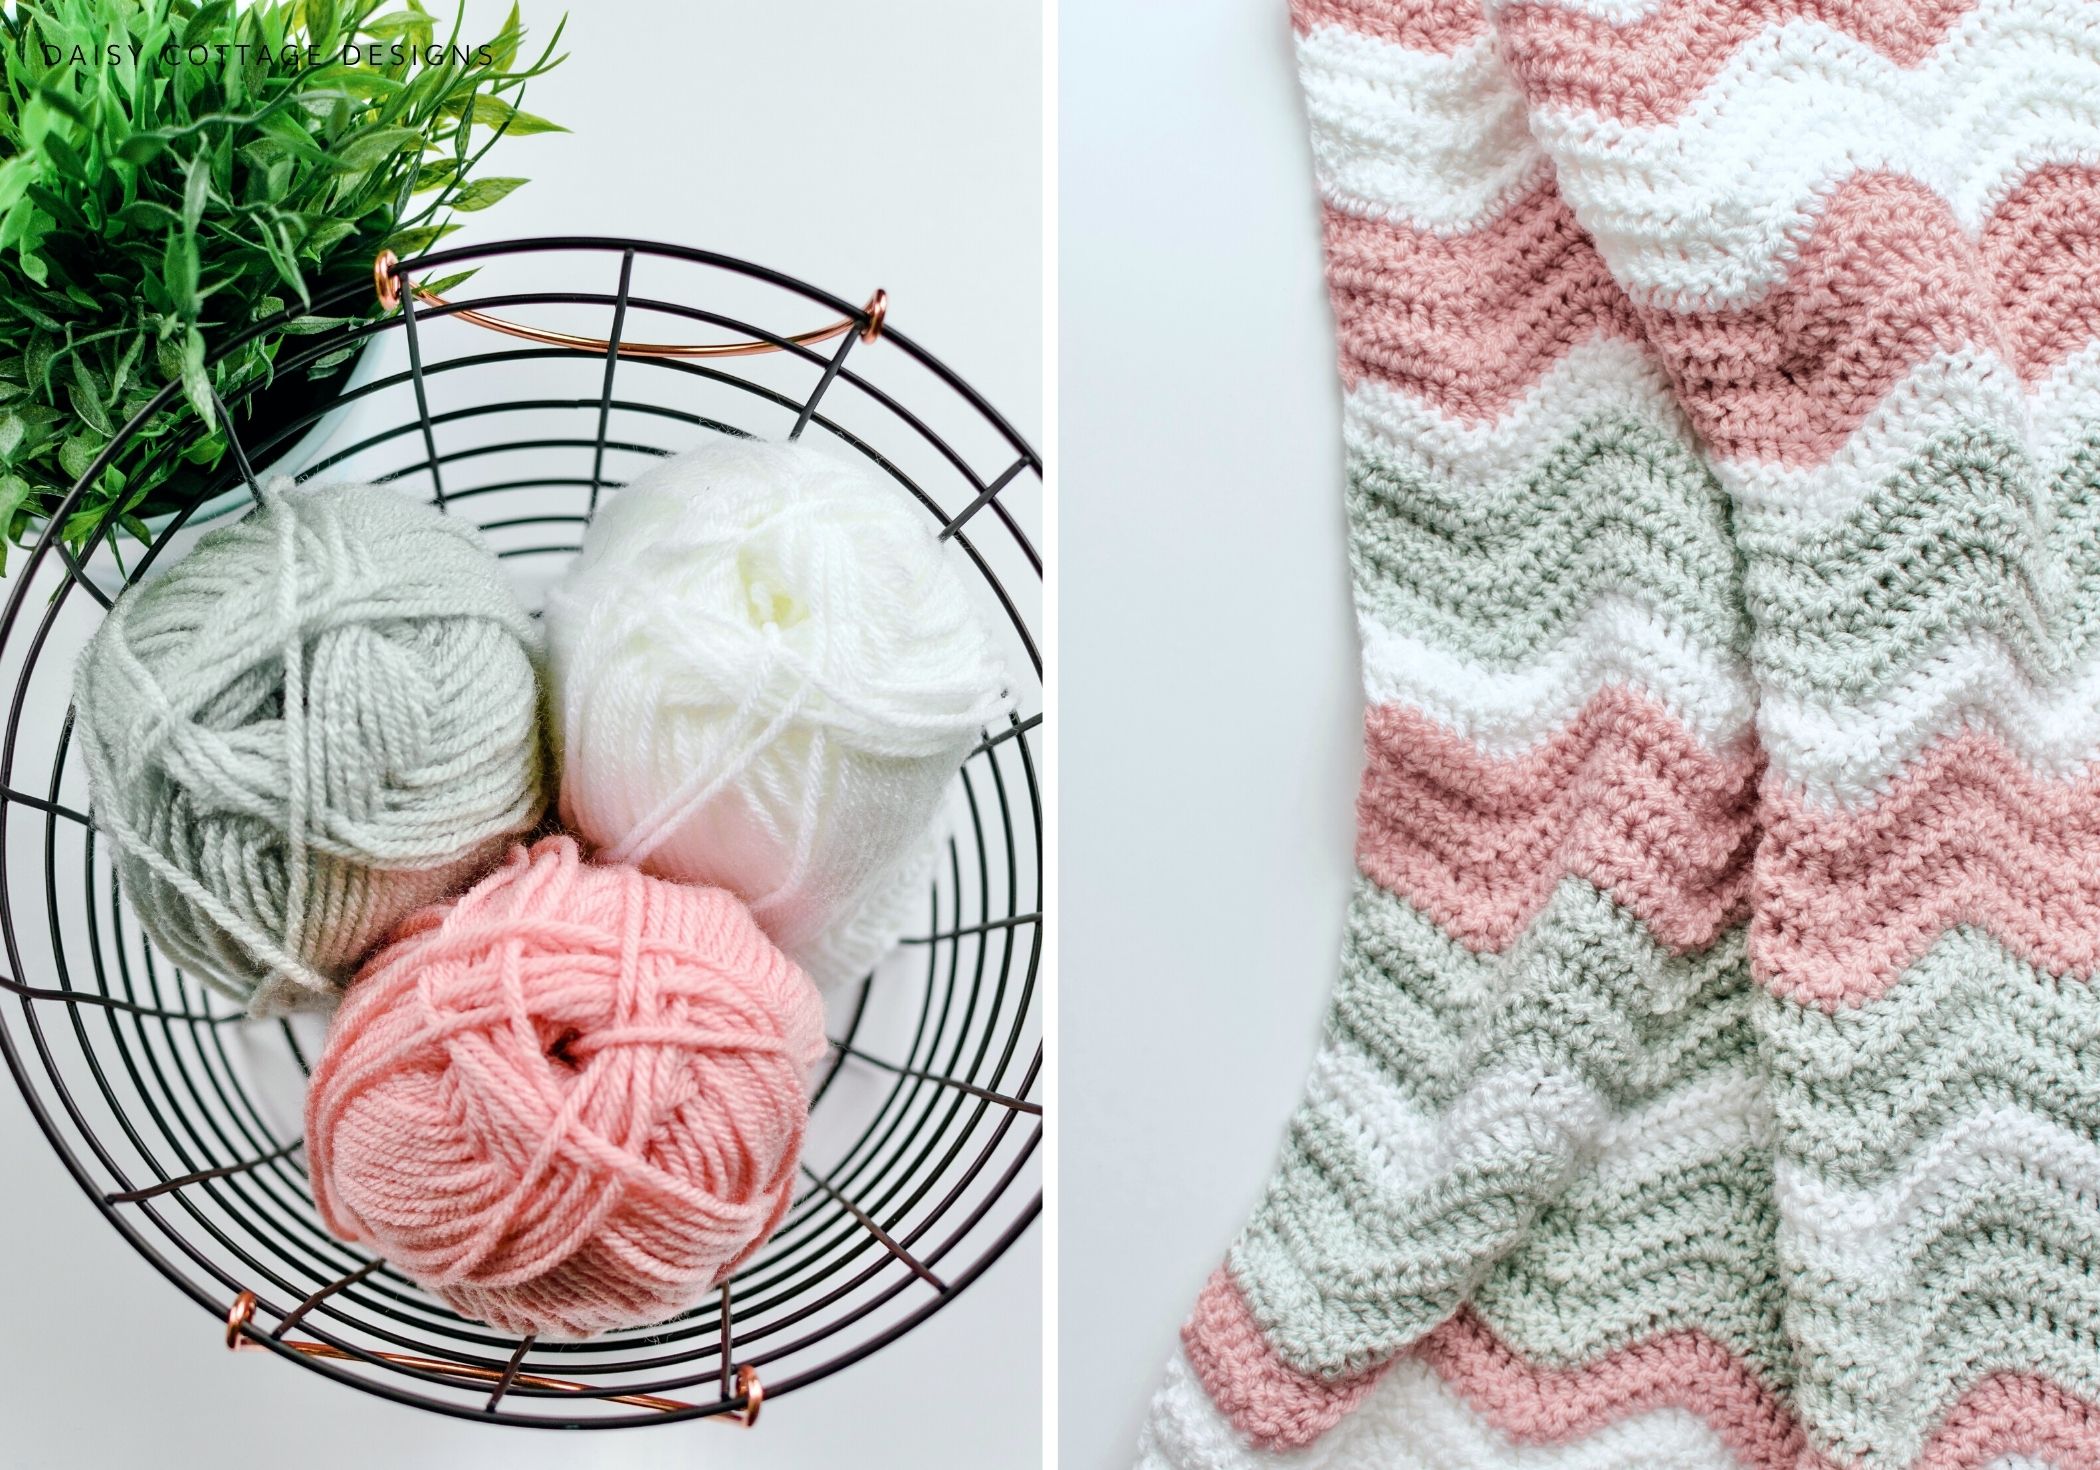
Materials:
- 2 Skeins Vanna's Choice Pale Gray
- 2 Skeins Vanna's Choice in White
- 2 Skeins Vanna's Choie in Pink or Aquamarine if you're making this for a boy
- I/9 (5.50 mm) Crochet Hook (these are my FAVORITES!)
- Scissors
- Tapestry Needle for weaving ends
Pattern Notes:
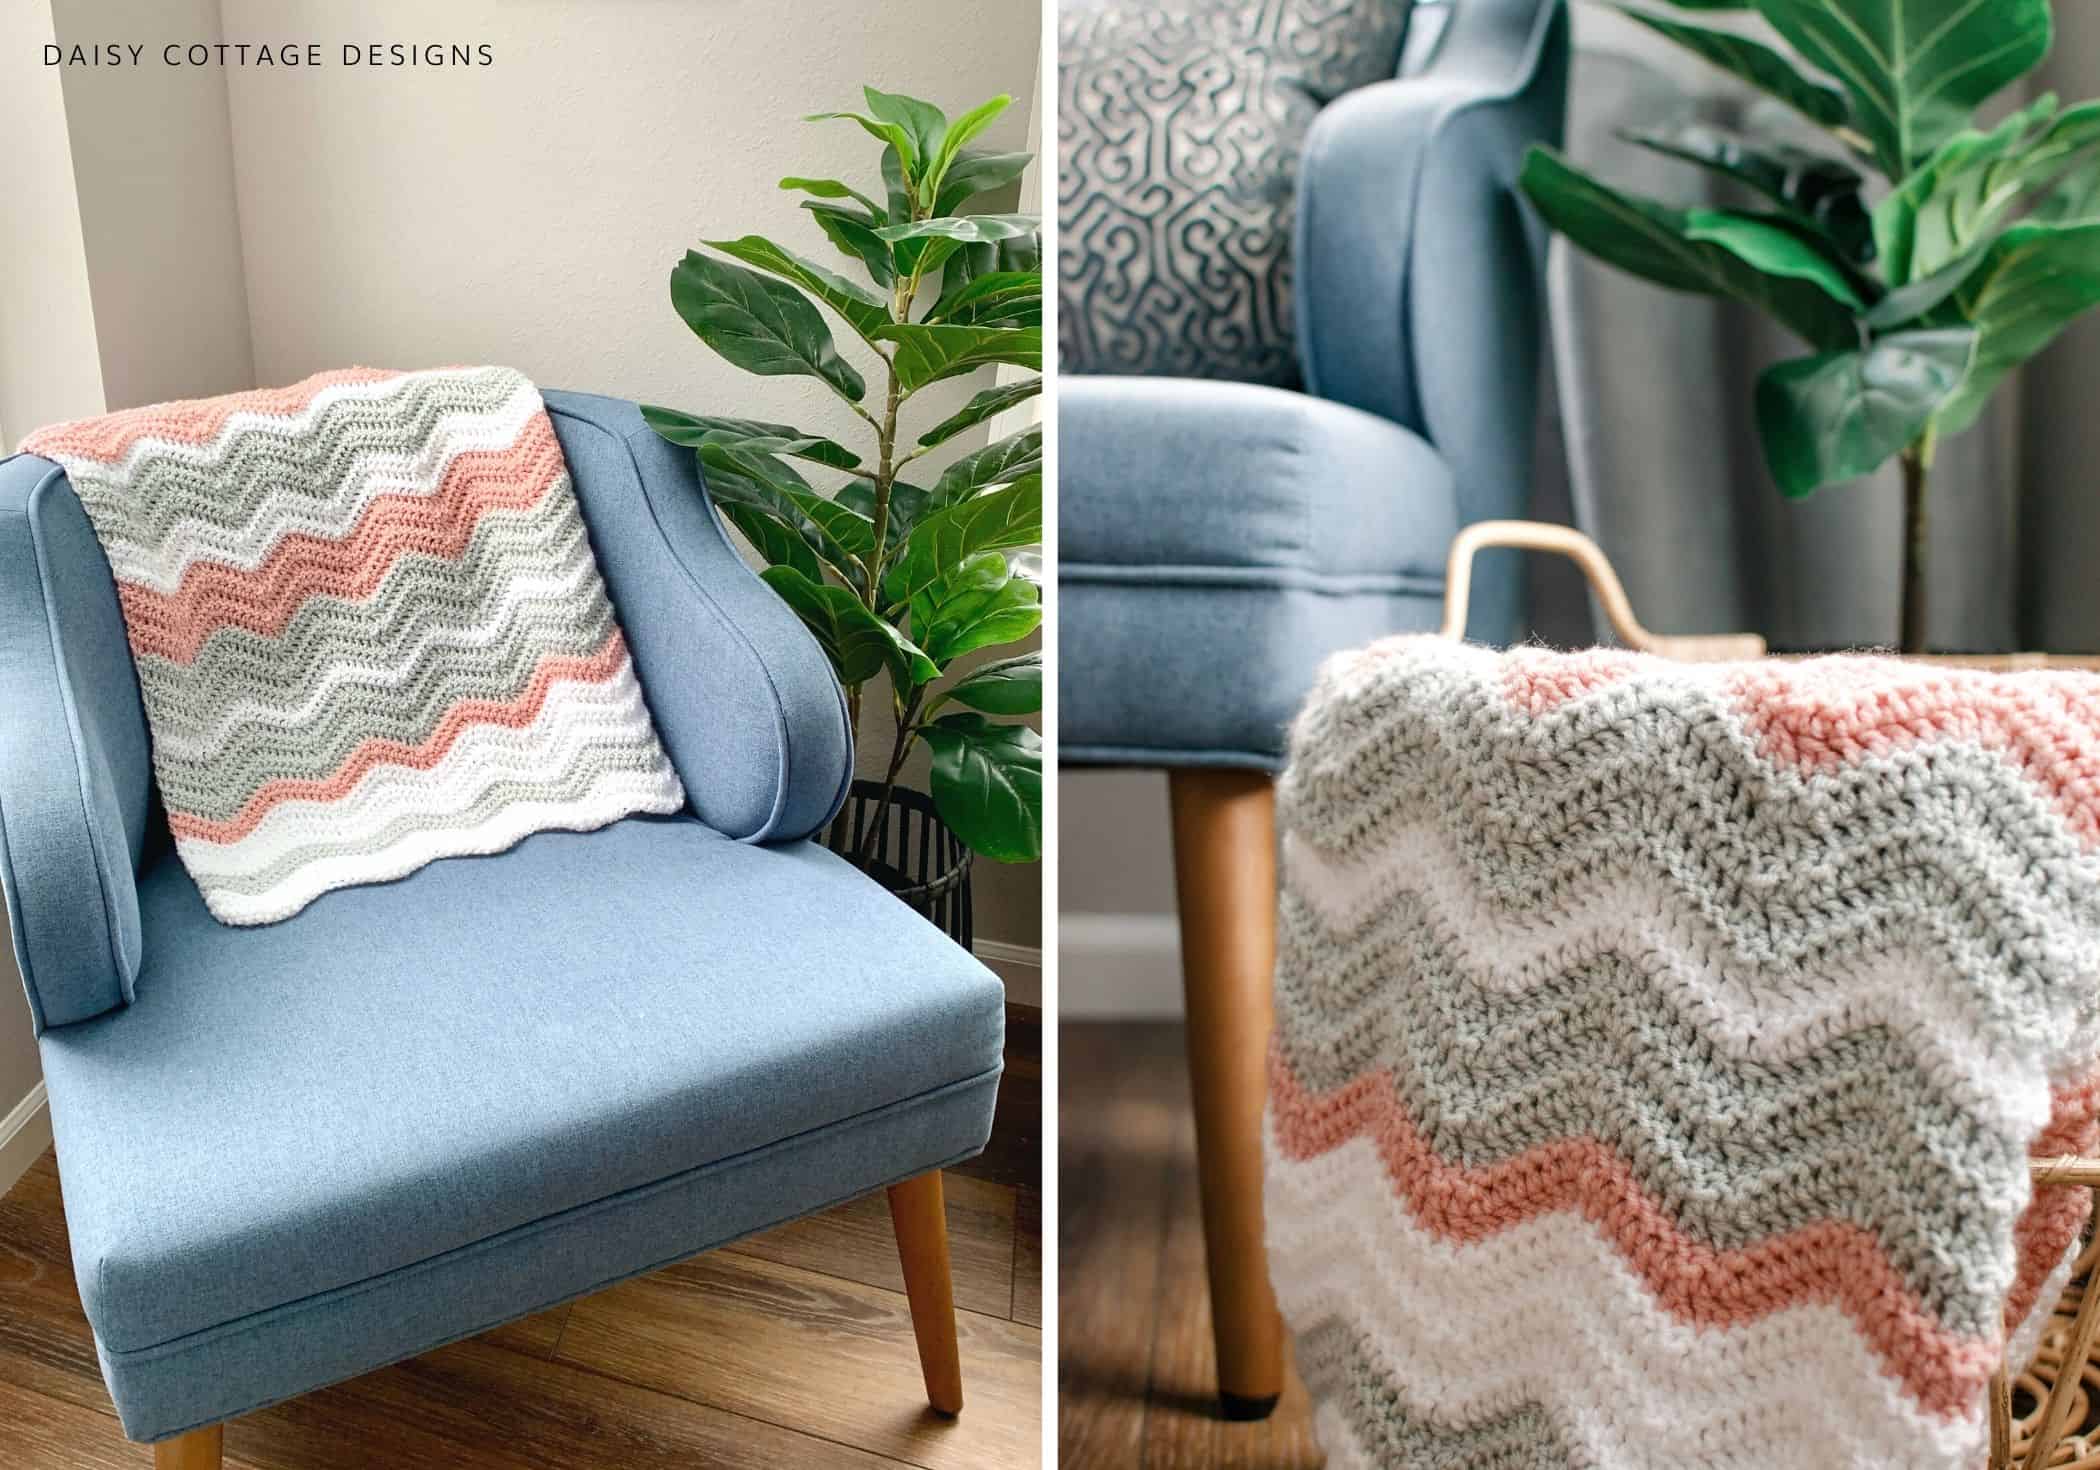
- As written, this blanket is approximately 27″ x 30″
- You'll be working into the chain at the end of each row.
- Gauge is not important for this project.
- A dc2tog is the same thing as a double crochet decrease.
Adjusting the Size of Your Ripple Blanket:
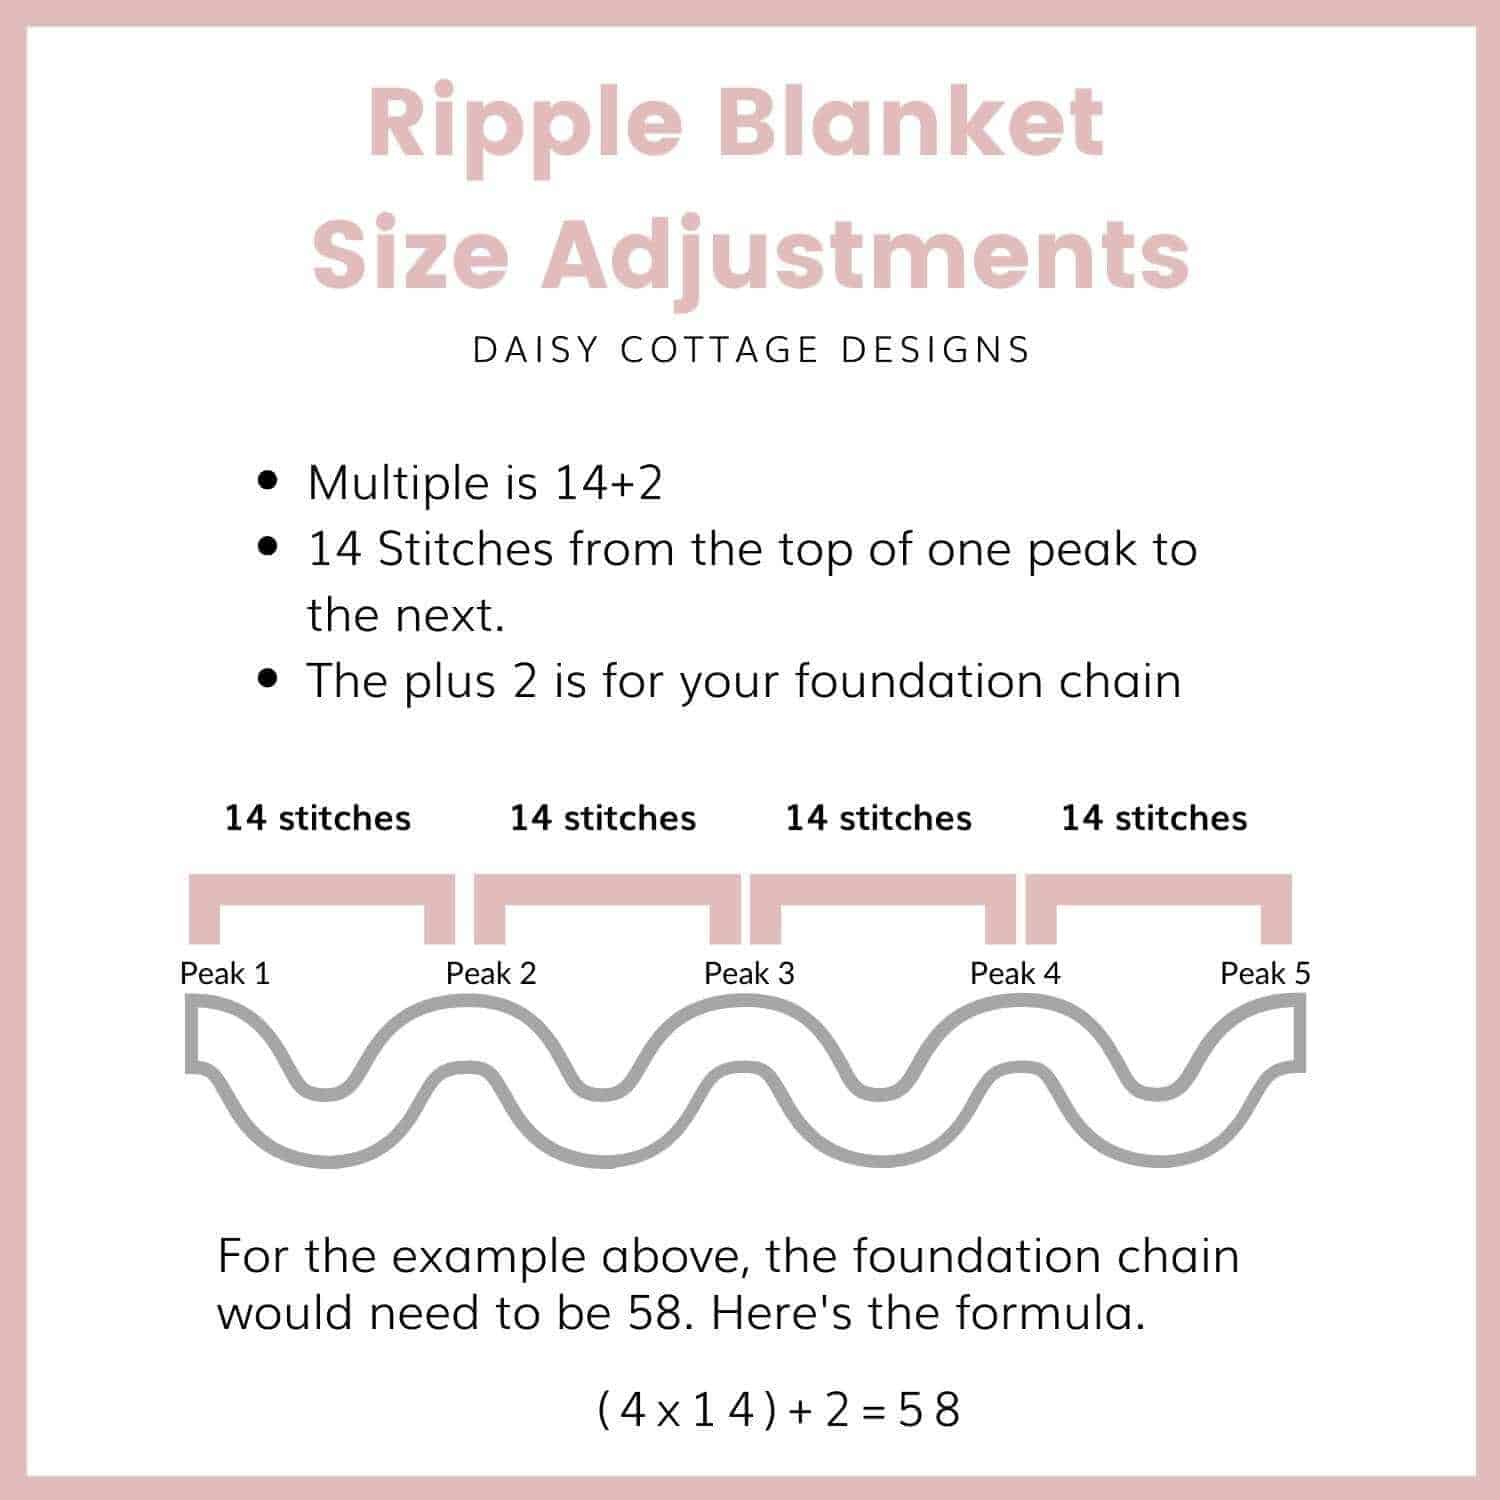
The chart above should help you get started changing the size of your ripple blanket. In order, to add an additional "peak," you'll need to add 14 stitches to your foundation chain. Once you determine your foundation length, the rows will be exactly the same.
Get creative and make this blanket as big or as small as you like! If you have questions about adjusting the size of your ripple blankets, feel free to send me a message on Instagram.
ch 100.
Row 1:dc in the third chain from the hook. Dc in the next 4 stitches. Dc2tog, dc 2 tog. Dc in the next 4 stitches. *Work 2 dc into the next 2 stitches. Dc in the next 4 stitches. Dc2tog, dc2tog. Dc in the next 4 stitches.* End with 2 dc in the last chain. Ch 2, turn.
Row 2:dc in the first st (your ch 2 and your first dc are worked in the same stitch) and in the next 4 stitches. dc2tog, dc2tog. Dc in the next 4 stitches. *Work 2 dc into the next 2 stitches. dc in the next 4 stitches. dc2tog, dc2tog. dc in the next 4 stitches.* End with 2 dc in the last stitch. Ch 2, turn.
NOTE:you will have 2 dc in the first and last stitch of each row (ch 2 counts as dc).
You will continue repeating row two until you have 55 rows (or really, you could keep going as long as you'd like). My stripe pattern is as follows:
3 rows white, 3 rows gray, 5 rows white, 2 rows pink, 5 rows gray, 2 rows white, 5 rows gray, 5 rows pink, 3 rows white, 5 rows gray, 2 rows white, 5 rows pink, 5 rows white, 3 rows pink, 2 rows white.
PLEASE NOTE:
If you feel like you're missing stitches or your peaks don't line up properly, head definitely watch this YouTube video – it's embedded above so you can scroll up and watch it, too!
How to Crochet a Zig Zag Baby Blanket
Source: https://daisycottagedesigns.net/free-crochet-pattern-ripple-baby-blanket/
0 Response to "How to Crochet a Zig Zag Baby Blanket"
Post a Comment